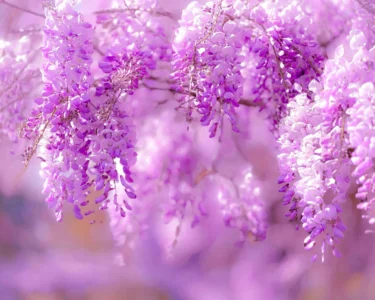


Plumeria is renowned for its vibrant and beautiful flowers. Their rich color makes the environment more beautiful with their presence. They are also known as Frangipani.
This comprehensive guide will discuss the plumeria seed pods, harvesting, planting, and collecting/purchasing these seeds.
What are Plumeria Seed Pods?
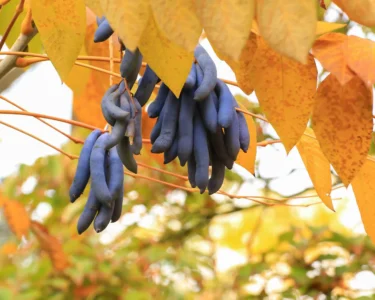
Plumeria seed pods are the fruiting structures produced by the plumeria after the flowering stage. These pods are elongated and develop at the base of the flower, where petals once bloomed. The starting period of these are green and fleshy. After a time, they turn into dry brown capsules. People also called him plumeria capsules.
Significance in the Plumeria Life Cycle
Understanding these pods is more beneficial for those interested in propagating the tree. They play an essential role in the reproduction of plumeria because they contain seeds that can help in new tree growth.
Each pod has several seeds that need proper collection and nurturing to preserve the species’ beauty and life span for nature to be more beautiful.
Harvesting Plumeria Seed Pods
When plumeria pollination has been completed and bloomed, they transform into seed pods. Harvesting these pods at the right is crucial for the success of seed collection. Here is the guide to harvesting these pods.
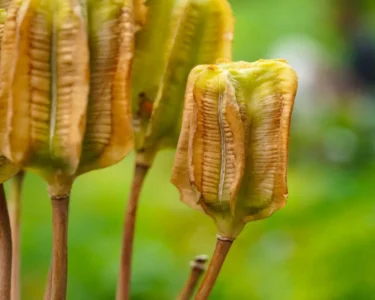
Observing Maturity:
- They start their journey as green structures after pollination. Over time, they change their appearance from green to brown and become dry.
- Wait until the pods are thoroughly dried, and they should feel breakable to the touch.
Pruning
Harvesting involves carefully removing the seed pods with pruning shears or scissors. And remember one thing at this point: for easy handling and storage, you need to keep some of the stems.
Collecting Seed
To extract seeds from Plumeria seed pods, follow these steps:
- The first step is to open a seed pod by prying it with fingers or a small knife. And must avoid damaging the seed from the inside.
- The second step is removing fiber from the pods and separating the seeds.
- The third step is to remove the waste material of the seeds and clean them gently under the water. And after that, patting to dry.
- After these three steps, you store the seeds in a breathable container and cool, dry location such as a paper envelope or mesh bag. It is also helpful to protect the seed from sunlight and moisture. And remember that you need to label the container with the date and variety of seeds to track their growth.
- The next step before planting is the germination test. Place the seed between moist paper towels or in a small container with wet soil. Keep these seeds in a warm and well-lit area to monitor the signs of germination. This germination step occurs within a few weeks.
- Seed storage can survive several months, but the best option for planting is still fresh seeds. Storage seeds are successfully germinated after some time has passed.
Planting
To plant Plumeria seeds, follow these steps:
- Dig the hole for the seed and make sure they are buried ¼ to ½ inch in soil. Also, you need to give them a space for seedling growth.
- Water the soil after planting to a healthy soil-to-seed contact. Make sure to avoid watering too heavily to avoid causing waterlogging.
- Try to maintain consistent warmth for germination.
- Be patient and maintain care as germination usually takes several days to several weeks. Water the pot or tray regularly but not waterlogged, and check soil moisture regularly.
- After germination, transplant the newly formed seedlings into garden beds or nutrient rich soil while avoid damaging their delicate roots. Remove the weeds and extra grass to provide space for seedling growth.
- After this comes the process of seeing the seedling growth. Make sure to keep the soil moist and fertilize the soil regular intervals for heathy growing.
Precautions
- Poor Germination: Make sure seeds are placed in a warm environment. For the germination test is required to check the viability of the seeds.
- Damping Off: Some fungal diseases cause seeds to rot and collapse. Ensure proper drainage and good air circulation to avoid these causes.
- Pest Infestations: Avoid pest infestations to ensure you monitor and treat them regularly.